Posts tagged creative business owners
Semester V | Color Calibrations for In-House Printing
Design House Prep School | A School For Creatives | Online Creative Courses

Color Calibrations

for in-house printing


Without a doubt, the questions we get most often are regarding printing.  We do most of our printing in-house and have since our inception ten years ago.  

Many stationers are going the route of investing in an awesome printer and handling all their printing needs within their own studio.  There are so many advantages to being able to control this integral part of your production process yourself, but there can also be some major drawbacks.  Learning the ins and outs of your printer’s personality, what types of paper it likes and doesn't like, how long it takes to complete projects, etc. is all a major learning curve, but nothing compares to the learning curve of color adjustments.  

Have you ever printed something straight from Illustrator or Photoshop and it looks nothing like your digital file?  The colors are all wrong, they're muted and muddy, reds are browns, blushes are orange and dark greens are black.  Know that frustration?  This course will walk you through making color adjustments specifically for printing in house and will walk you through adding adjustment layers, running test prints, identifying issues and correcting them.  

Full disclosure, we will NOT be handing you the exact solutions for your very specific printer problems. Odds are, you have a different printer, a different computer monitor, a different paper… even a difference in the weather can change how your prints come out! What we WILL do is walk you through the same questions and best practices we go through for any in-house printing project that we do ourselves. We want you to walk away from this course with the tools and the confidence to troubleshoot any printing issues that come your way, no matter the specific circumstance!

Semester V | Products: When do you know you're ready

Just because everyone else is doing it, doesn't mean it's a good idea for you.  Learn to tune out outside preasures and make good decisions for your business in the long term.

Maybe you’ve been in business for a while and you’re interested in adding new offerings to your business. Maybe you’ve just started dipping your toes in the water and can’t decide between a few different product paths. We’ve all been there. As a business owner, you have to make these kind of decisions as you move forward and continue to grow, but the decision can be harrowing — nerve-wracking and intimidating!

Jenny Sanders will be joining Victoria for an in-depth conversation about products and when (or if) to carry them.  We'll go through the questions you should be asking yourself when considering carrying product, what your answers should be and whether carrying products is the right move for your business. 

What do we mean by product? Product examples could be selling prints, a semi-custom line, greeting cards, ribbon, handmade paper, etc. But they don’t have to be physical products either, you might be considering offering services like mentoring, workshops, or branding consultation. For example, when Victoria decided to begin Prep School, a purely digital product, she went through the same thought processes we talk about in this course! We'll walk you through the process and behind the scenes efforts of what goes into researching, creating and carrying a product line.  

Design House Prep School | A School For Creatives | Online Creative Courses

Products

Master Class | Finding Your Voice
Design House Prep School - Creative Business Workshops

Something that new artists struggle with above so many other struggles is finding their own voice. I feel like new artists expect art to pop out of their fingertips like magic onto a page; that they'll immediately produce wonderful, unique and sellable work.  


Most often, an artist begins their journey by being drawn to the work of others around them.  They've curated a community that they follow, wether it be on instagram, youtube, other students at school, etc. and that will be the work that most strongly influences their own.  We all begin by mimicking the work that we're most drawn to, but this creates a few problems down the road that we don't anticipate at this stage.


The first is that the work we're copying is the work of someone who has found their voice and practiced speaking in the voice for some time now.  Our mimicry will fall flat, looking like a sad amateur copy, resulting in disappointment and discouragement.  


The second is when we continue to pursue perfecting another persons voice, we only end up sounding or looking like them rather than coming into our own voice. 


So how do you do it? How do you find your own voice?  The first step is to start speaking. 


Again, most artists begin by mimicking the work they're drawn to, but so many of those newer artists continue the same copying procedure in their pursuit of their craft.  


Rather than continuing to copy (aka "being inspired by") someone else's work, view that work as a jumping off point for your own voice.  It's like learning to sing...you begin by singing along with other songs in the car, learning the melodies and lyrics, moving on to karaoke, learning a cappella, exploring your own sounds and understanding what note ranges work well for you.  


In order to develop the same unique voice with artwork, we have to go though a similar process. 

Design House Prep School | Creative Workshops.jpg


Produce work, produce shitty work, produce it again. 


Evaluate your work (evaluate is different that criticize).  Identify the details you like and dislike about what you produce and produce something focusing on the detail you liked from your previous work.  Evaluate and produce again.  And again, and again and again.  Continue this process for a month, creating and evaluating something every day.  At the end of the month, line up your pieces with a few from the beginning, a few from the middle and a few from the end and see how your style developed, evolved and became more distinctive to you and less of the copy you started with.  


Identify what makes your work unique.  Are you drawn to unusual color combinations?  Odd scale combinations?  Unique medium combinations?  As you evaluate your work, watch out for the things that stand out to you and continue to build on them and embrace them. 


It's those things that you identify as being unique that will become your voice.  Own them.  Be proud of them.  Have the courage to stand up for them.  


Being an artist is like being a dumpster diver - we're looking for things that others have discarded or dismissed.  We're always hunting for the shinny object poking out of the bottom of the trash heap that everyone else has missed.  We shift through the debris of every day life, culture, influence and we pay attention to the things everyone else is ignoring.  Find inspiration in those things, develop them, evolve and evaluate and then own the shit of it as you develop and evolve with it.


Now you have a voice.  

NEW CLASS! >> DIGITIZING CALLIGRAPHY & WATERCOLOR

Do you have awesome artwork or calligraphy skills on paper and no idea how to translate that to the computer? Digitizing your work is the first step in translating your beautiful artwork from paper to pixel.

With a digital copy of your work, you can use your hand-done artwork in layouts and designs, create prints, get products made, use it in your branding and online presence... the possibilities just open up! Digitizing can mean the difference between restarting a whole project because your client changed their colors or just doing a couple tweaks on Photoshop and reprinting. It can mean that you do the same amount of work and maximize your profit when you sell multiple prints of your piece. It can mean you create your own custom patterns made from your own artwork (awesome!) and proceed to use those patterns as wallpaper, fabric, envelope liners, you name it! 

We'll be starting at the beginning and walking you through scanning, editing and using calligraphy and artwork in your layouts and designs. This will be a beginner to intermediate course.

Although instruction will be using specific examples and methods in the Adobe Creative Suite (specifically, Photoshop), we do not require you to purchase Photoshop in order to take the course. The same principles could be applied to other photo-editing software, including free alternatives like GIMP. We do love Photoshop though (this isn't a sponsored post!) and it is often the industry standard, so we'd highly recommend taking advantage of the free trial from Adobe to see if Photoshop is for you. 

NEW CLASS! >> LINE BOTANICALS
17.08.15 Semester III-39.jpg

Who doesn't love botanicals?? Timeless and classy no matter the medium, we love incorporating botanical artwork into our work and our office space (have you seen our temporary wall mural?).

Traditionally, botanical sketches are very detailed and precise. These make for beautiful drawings and paintings, and we absolutely love them! 

In this course, we will explore a more whimsical interpretation of line botanicals. Victoria has been doing a version of this style since her art school days, for everything from botanicals to anatomy. We'll be learning how to loosen up a bit and create botanicals with loose movement and imprecisions. She'll walk you through how to embrace imperfections in your piece and stylize your botanical drawings. 

We'll use both pen and brush to explore this style so you can see how it can apply to many different mediums. 

Course | Pricing for Creative Businesses II

Starting with our Pricing I course last semester, we offer a multi-part series on how to price your work in a creative business. Semester II brings the Pricing for Creative Businesses II. 

Design House Prep School | A School for Creatives | Pricing II

This second semester pricing course will dig a bit deeper into the world of pricing. We'll look at specific pricing examples in two industry categories: custom calligraphy projects, and building a pricing sheet as a paper pusher (i.e. stationer).

When we talk about pricing for custom calligraphy projects, this includes oddball projects such as large scale quotes, wedding vows, family crests, large menus, large seating charts, etc. We'll talk about how to price your time as well as the cost of product for these situations. In addition, we'll talk about building your pricing as a calligrapher and the different pricing structures that are available.

The second example we'll get into is pricing paper, printing, assembly details, and your time as a stationer. Having estimates of these costs will help to dramatically cut down the time it takes to return quotes to clients while ensuring accuracy in your pricing. 

As with all the other Semester II courses, registration will open on December 12, with class materials becoming available on January 13th! 

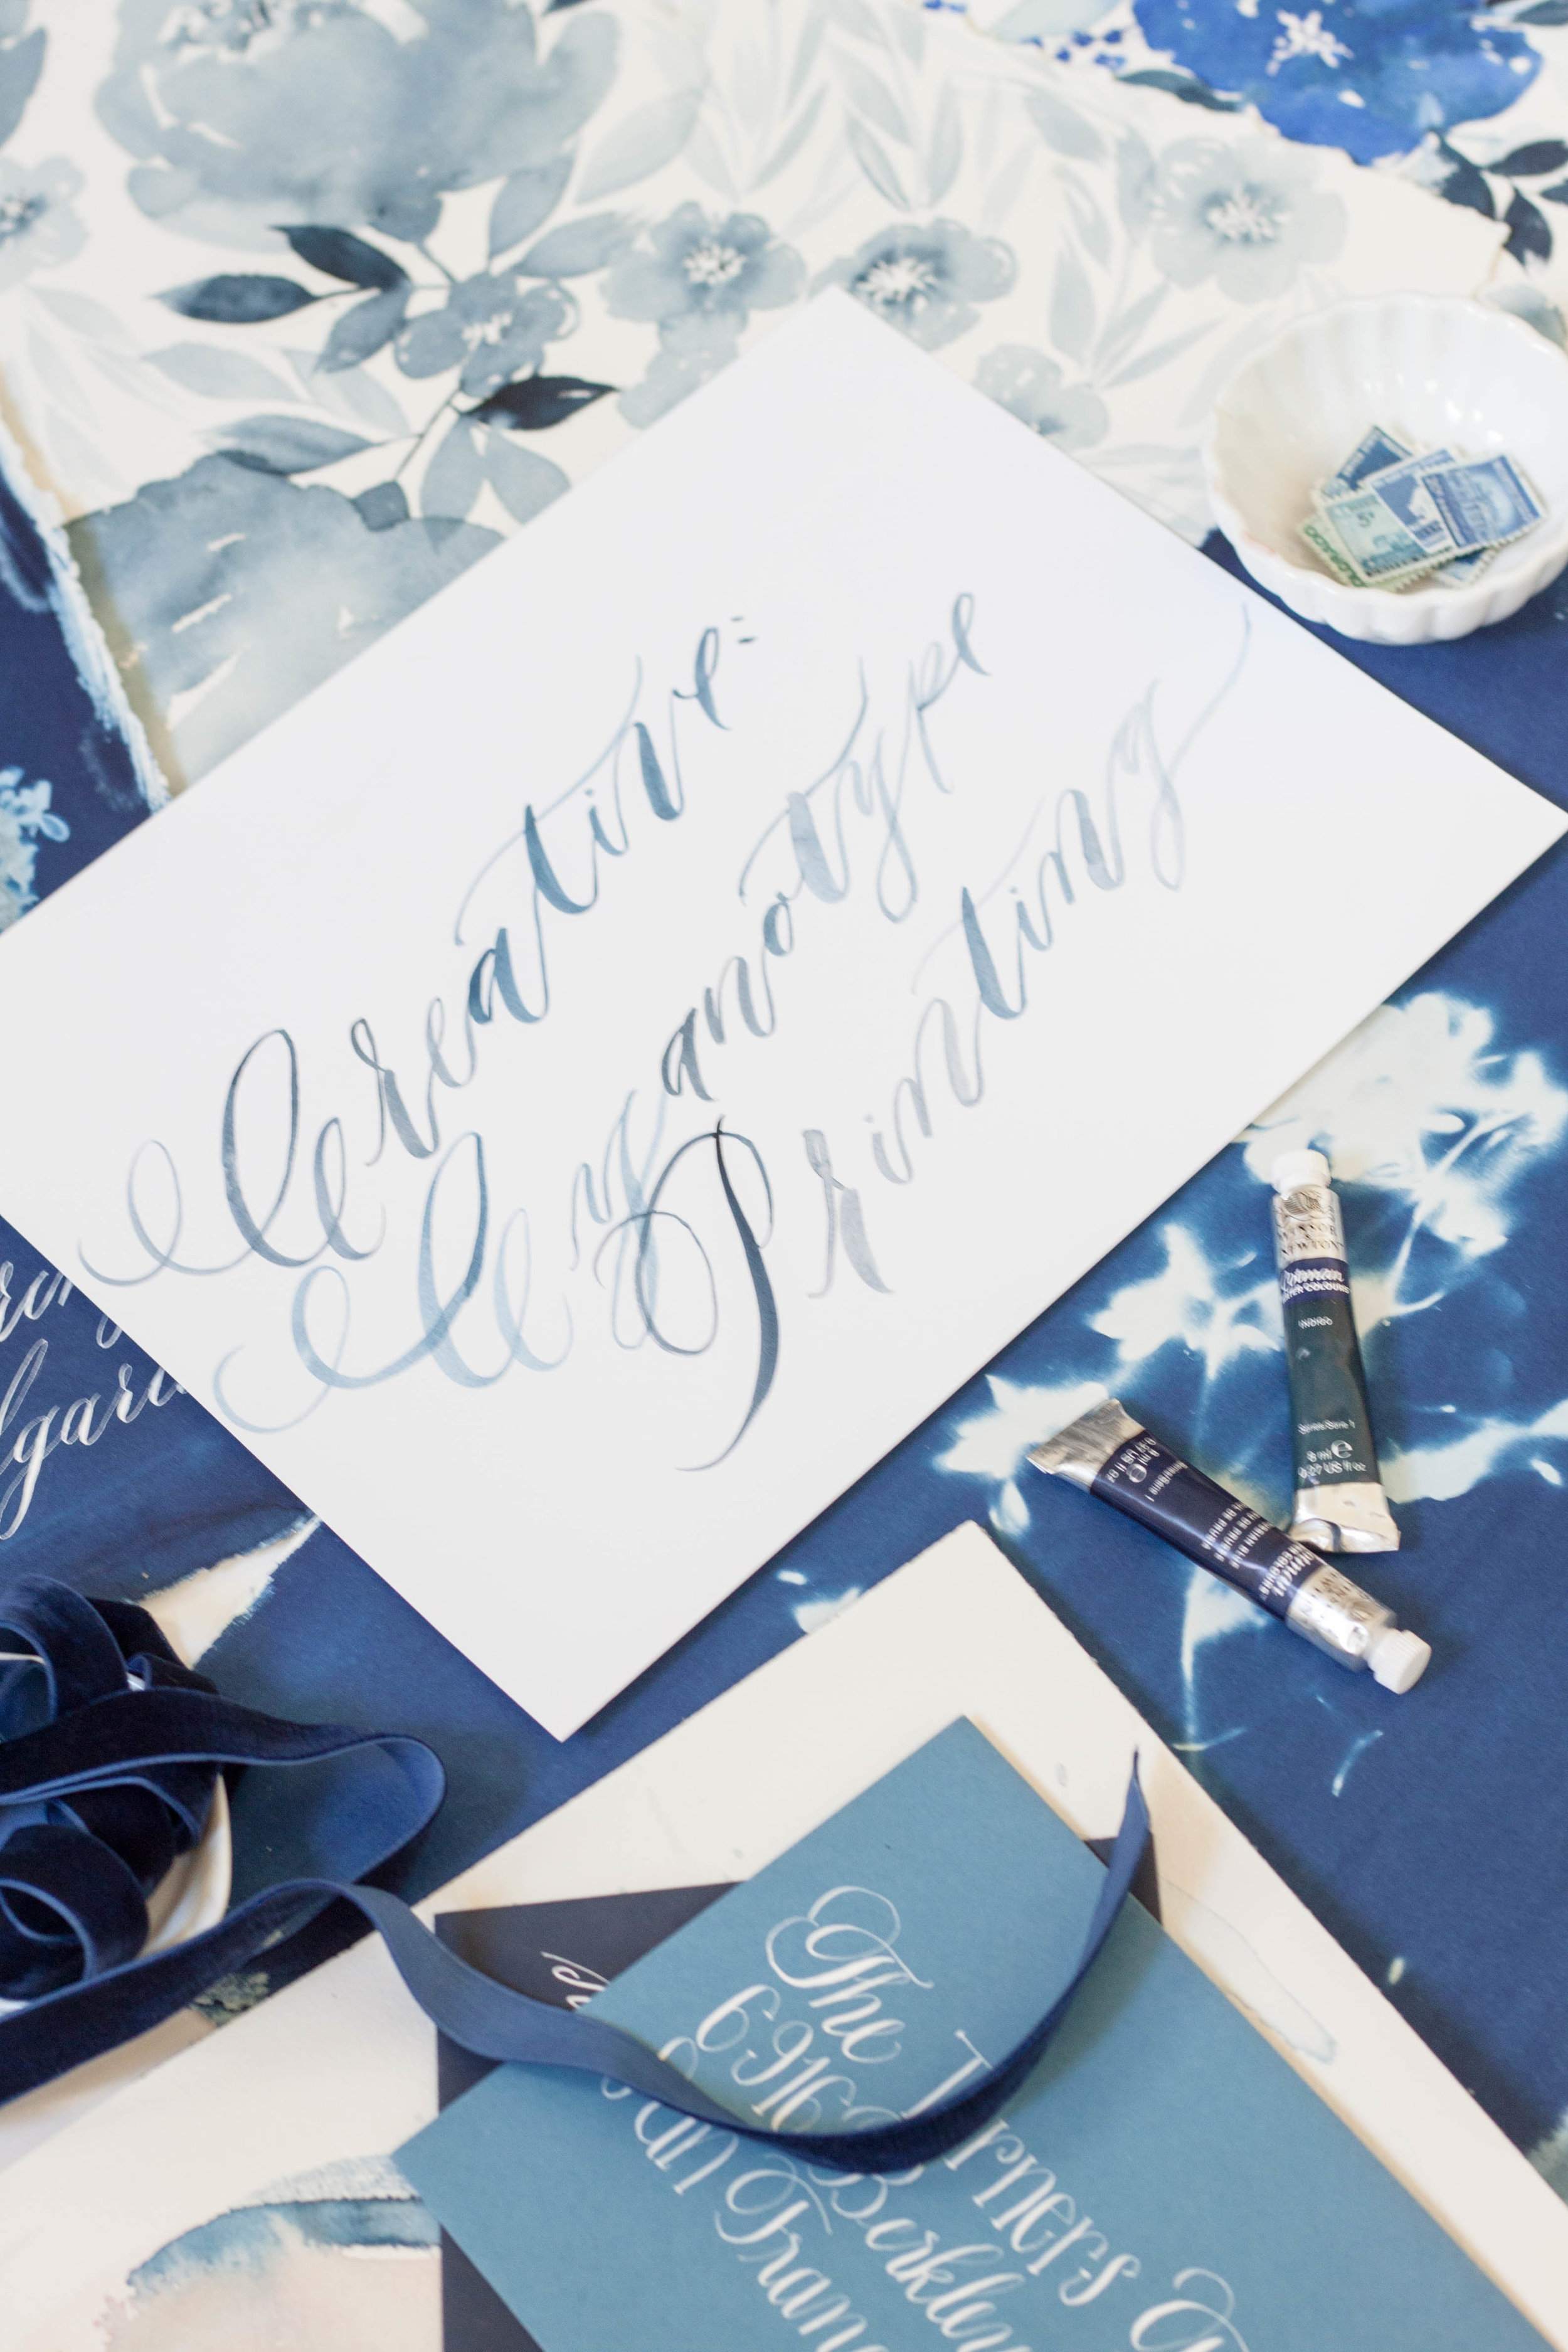
Course | Cyanotype Printing

We love to include interesting creative techniques in our course offerings. As creatives, it's so important to continue to explore new techniques and expand our horizons when it comes to our craft. For Semester II, we are offering Cyanotype Printing.

Design House Prep School | A School for Creatives | Cyanotype Botanicals

Cyanotype printing was a method of printing invented in 1842. With its origins in reproductions, specifically blueprints (hence the name), it uses the photographic printing and development process to create gorgeous cyan or prussian blue prints. 

Aside from using cyanotype printing on paper products, I have successfully used it to create lovely unique prints on fabrics, most recently a silk scarf. While it is a process that requires patience and time (and a dark space with no light!), the results are phenomenal. In this course, we will be learning the ins and outs of the process and create some botanical prints! 

Registration for Semester II courses will open on December 12, so mark your calendars! Classes will become available on January 13, 2017. 

Course | Time Management

Next up for our Semester II courses, we have Time Management!

Design House Prep School | A School for Creatives | Time Management

Whether you run your own business from a studio, balance a full time job with a side hustle and family, or anything in between, knowing how to prioritize your time is integral to running your business effectively and getting things done.

Learning how to prioritize, eliminate, stay on task and delegate is life changing - it certainly was for me! Going from working 80+ hours a week to working 36 or less and taking the month of December off gave me the energy and drive I needed to build my business and stay sane.  

I've gotten a lot of questions and feedback from students about the difficulty they face in finding enough time in the day to do all the things they need to do. In this course, we'll get into the nitty gritty of necessity, learn how to prioritize our time and tasks, and get more done in a shorter period of time. 

As with all the other Semester II courses, registration will open on December 12, with class materials becoming available on January 13th!