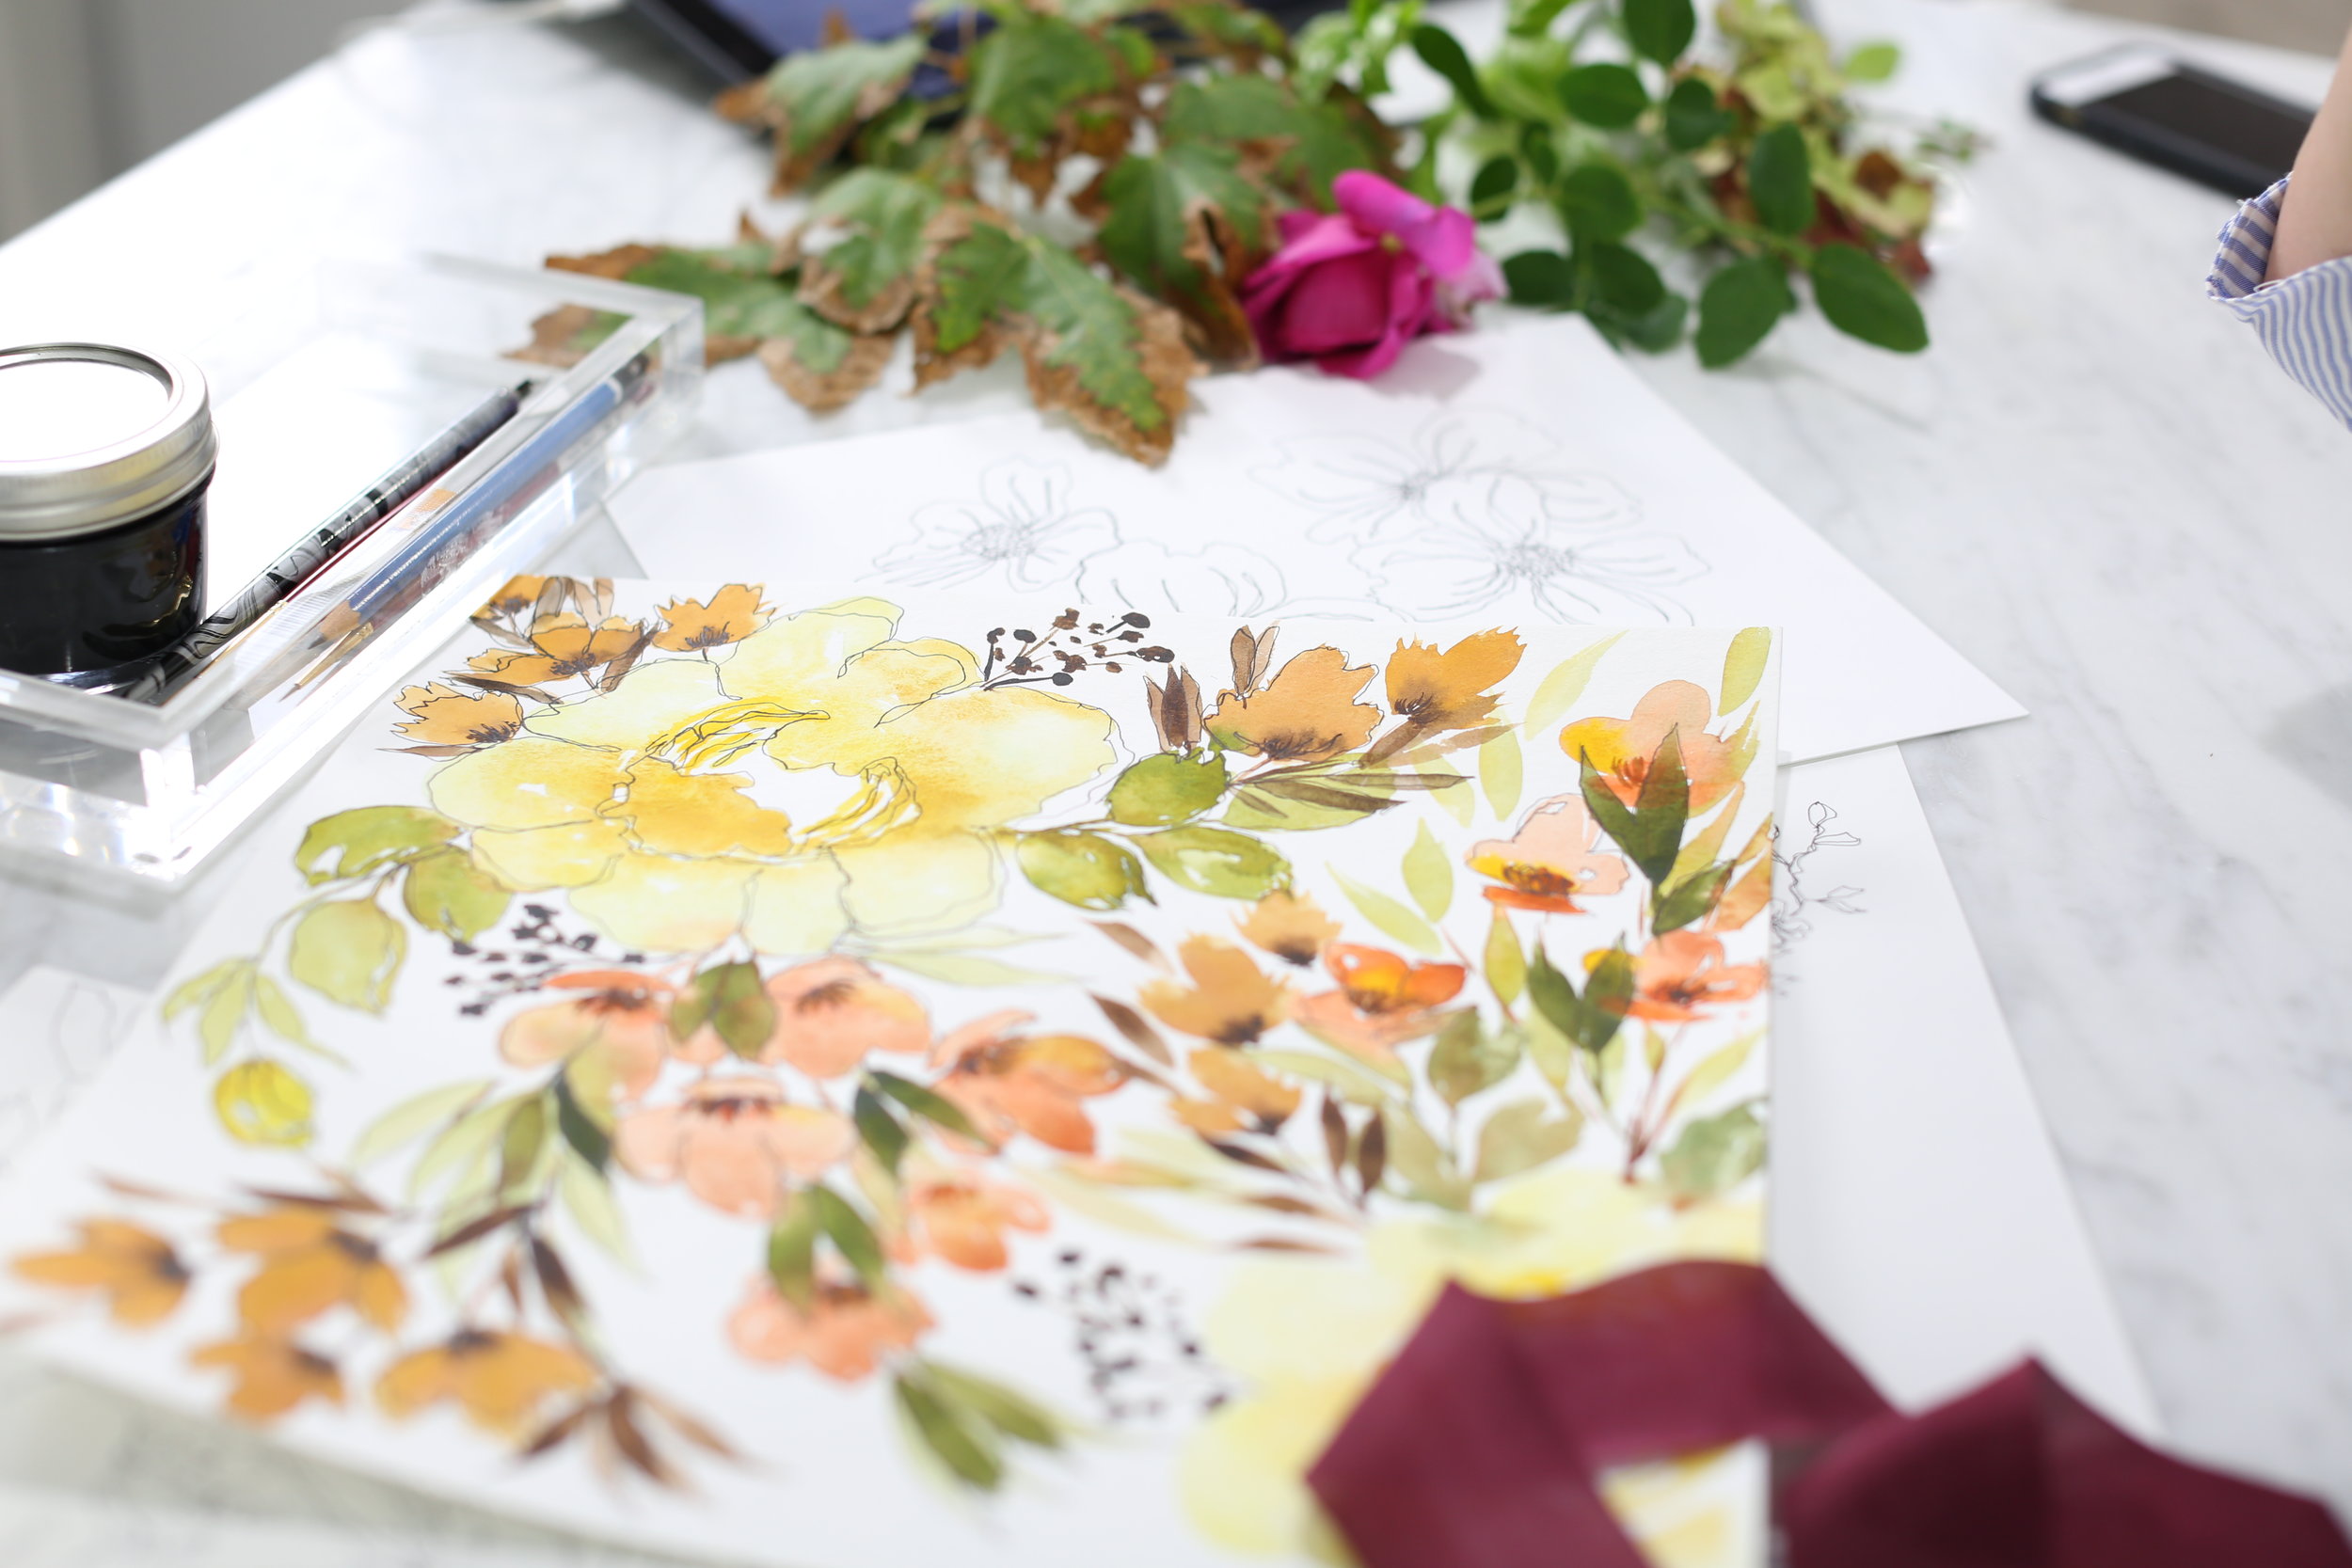
Do you have awesome artwork or calligraphy skills on paper and no idea how to translate that to the computer? Digitizing your work is the first step in translating your beautiful artwork from paper to pixel.
With a digital copy of your work, you can use your hand-done artwork in layouts and designs, create prints, get products made, use it in your branding and online presence... the possibilities just open up! Digitizing can mean the difference between restarting a whole project because your client changed their colors or just doing a couple tweaks on Photoshop and reprinting. It can mean that you do the same amount of work and maximize your profit when you sell multiple prints of your piece. It can mean you create your own custom patterns made from your own artwork (awesome!) and proceed to use those patterns as wallpaper, fabric, envelope liners, you name it!
We'll be starting at the beginning and walking you through scanning, editing and using calligraphy and artwork in your layouts and designs. This will be a beginner to intermediate course.
Although instruction will be using specific examples and methods in the Adobe Creative Suite (specifically, Photoshop), we do not require you to purchase Photoshop in order to take the course. The same principles could be applied to other photo-editing software, including free alternatives like GIMP. We do love Photoshop though (this isn't a sponsored post!) and it is often the industry standard, so we'd highly recommend taking advantage of the free trial from Adobe to see if Photoshop is for you.


